
It's been fifteen days since I polished off the last slice of Pflaumenkuchen, but my head's still stuck in Berlin.


I blame Luisa.


These photographs are from a couple of years back when Eli and I picked up and moved to Berlin for the summer. A few chapters into Luisa's book, I dug them out, and I haven't been able to stop looking at them.

I meant to tell you more about Berlin back when we were actually there (I may have even promised to - eeesh!), but before I knew it we were off to St. Petersburg where there was fresh honey to report on, and then we were in Amsterdam where we found those spelt cookies, and then - poof! - we were back home, with tomatoes on their way out and apples on their way in, and... Anyway, I thought I might make it up to you today. With 41 (!!) photos and a recipe, another from Luisa's book, for something that I ate nearly every single day while we were living in her most beloved city.

Pflaumenmus. Plum butter, that is.


Pflaumenmus is the German doppelganger of the American apple and pear butters I grew up on. The word "Mus" in German means "pulp" or "purée," but it sounds like the English word "mousse" (or the French word, I should say - are you following?) and that feels exactly right. Fruit "butter" is named for its velvety consistency; there's no actual butter in it. So soft, so smooth. Mousse-y. It's the kind of thing you want to run your finger through and swipe onto your tongue. And the flavor is something else. Deep and rich and unexpected, a new version of the fruit you think you know so well.

My friend Molly tried a spoonful from the first batch I made a few weeks ago and said it tasted like Christmas. To Luisa, it tastes like an abandoned orchard at the edge of Berlin and a day picking fruit with her now-husband's family. To me, it tastes like that Berlin summer. Every last bit of it.

Hot and twinkling.

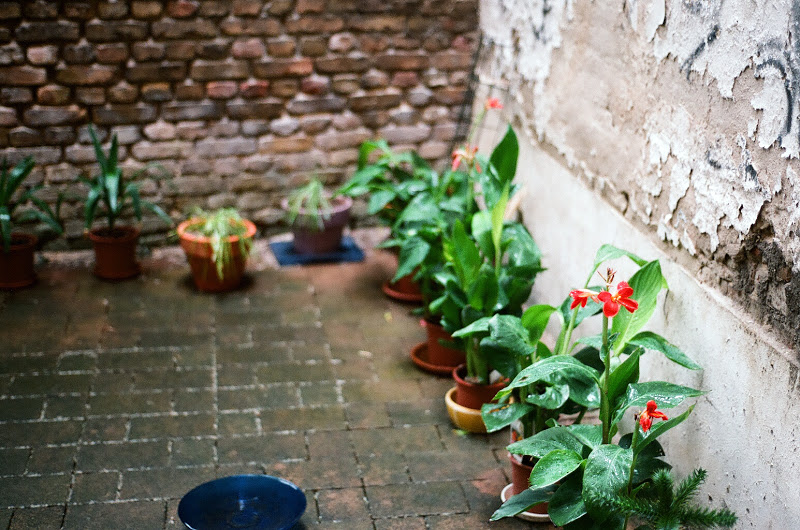
Leafy, shaded, wet.


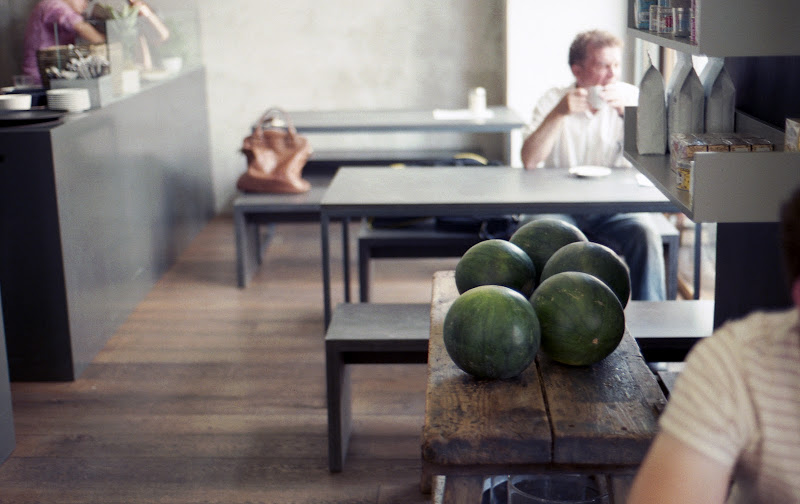
There was Italian food that summer.


With a side of the World Cup.

(Or maybe it was the other way around.)


There was also a lot of herring and, consequently, a very happy Jess. (Very thirsty, too. Herring is salty.)


I took these next photos at a café called Oliv. It was just a few blocks from my German class, and I would go there sometimes in the afternoons for a slice of quiche with a remarkable crust, tender and crackery, two words that barely make any sense used together like that to describe the same thing, but made perfect sense in that crust.


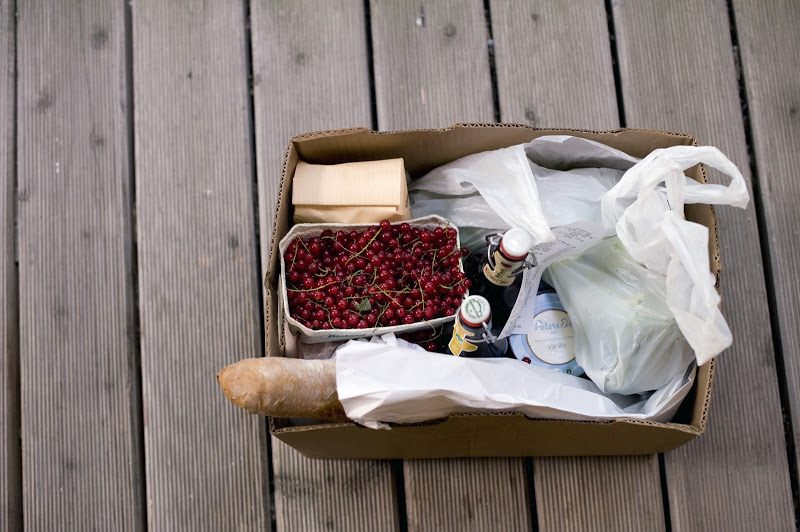
And here's a photo of the kitchen table at our apartment on Prenzlauer Allee. I showed it to you once before, when this site turned two. We plucked fresh currants from their stems sitting there, fanned tomato and cucumber slices across ridgy white plates, spread quark, cold and thick, on toasted seeded bread, and Pflaumenmus, of course, over salty butter. It's where I began to trust again, just a little bit, in my own body and its powers, to believe in what might be, and even start to say these things out loud.


These dudes were our neighbors.

They didn't talk much.

We got new shoes in Berlin. The store was once a butcher shop, and when Vans moved in, they not only kept the original century-old tile, they designed a shoe after it.


I wish I could tell you that this was the first time that Eli and I owned the same pair of shoes. It was not.

On our last full day in Berlin, we went to Kauf dich glücklich for a waffle. I am not a waffle person, but if they all were like this one, I might be.

The crust was crisp and shattery and hot - is that right? do waffles have crust? - and beneath it was a chewy, steamy crumb. It was all the pleasures of a good piece of toast, but in a waffle instead. (And that, friends, might be my highest praise.)

When I eat Pflaumenmus, I think about all of these things.

I want to switch gears now to talk a bit about canning, since this is the first recipe for anything canned I've ever posted on this site. If you're an old canning pro, go ahead and skip right down to the recipe - it's a good one - and enjoy. You can also skip this part if you'd like to make the Pflaumenmus, but plan on storing it in the fridge. It should keep there for at least a couple of weeks, no canning required. (You'll probably either want to make a smaller batch, or give a few jars away, though!)
:: :: ::
A few words about canning
I'm new to canning. For a long time, I avoided it out of fear. From the many recent articles and blog posts I've read by the newly converted, I've learned that this is a fairly common position. The fear is a healthy one: If you don't follow proper canning procedure, you risk dangerous contamination. But there are two facts that lent me the courage to get canning, nonetheless:
1. "Proper canning procedure" is not, as I had imagined, a lengthy, highly scientific process involving all kinds of special equipment. There are a few things you can buy to make the job easier, things like a jar lifter and a wide-mouth funnel, but they aren't necessary. All you really need is a big pot, something to throw into the bottom of the pot to protect the glass jars from the heat (a small cooling rack, anything silicone, even a handful of silverware) and, if you decide to skip the jar lifter, a set of tongs. Check out this video (thank you, Olga) for a great tongs-plus-rubber-band hack that works in place of a jar lifter.
2. Botulism cannot grow in a high-acid environment. I'm going to say that again because these are the words that released me from the grips of my canning fears: Botulism cannot grow in a high-acid environment.
Now, "high-acid" is a much, much broader category than you might think. It includes most fruit! Blueberries, strawberries, plums, apricots, apples - high-acid, all. Oddly, tomatoes, which I - and maybe you? - think of as more acidic than all of these things, are not in the safe zone. (Which is why you need to add acid in the form of bottled lemon juice to your tomato products before canning.)
My source for all of this information is my very smart friend Marisa McClellan. A lot of you know her, I bet, from her site, Food in Jars, or from her book of the same name that came out earlier this year. Marisa knows her stuff. And I don't just mean in a general, I've-made-some-great-jam-and-you-can-too kind of way. I watched Marisa give a canning demonstration when she was in town last summer, and when it came time for the Q and A, I was floored. She advised one woman about the spots that appeared on her pickled asparagus (perfectly safe), answered questions about pectin, which fruits are naturally high in it (things that bounce when you drop them) and which are not (things that go splat), the role of sugar in achieving proper set (very important), fruit butters that separate (it happens - eat them sooner; their shelf life is shorter), and what to do when you accidentally overcook your jam and it gets too stiff to spread (ease out of the jar, roll in sugar, slice). Listening to Marisa, reading her book, made me feel not only that I could can, but that I wanted to. I'm grateful for that.
What I've typed up here is a hybrid of Luisa's recipe and the canning tips and tricks I've picked up from Marisa. I was planning on telling you to file this one away for next year when plums come around again, but then I saw them hanging around at a couple of markets last week, so hey, there's still time! Just hurry.
Pflaumenmus (Spiced Plum Butter)
Adapted from My Berlin Kitchen by Luisa Weiss, with canning techniques from Marisa McClellan and her book Food in Jars
The ratio of fruit to sugar here is 1 pound to half a cup. You can adjust the recipe accordingly if you find yourself with more or less than the four pounds of plums stated in the recipe. Add an additional cinnamon stick and a clove if you increase the fruit by more than a pound. I've made this recipe three times with 4, 6, and 7 pounds of plums, and I've consistently ended up with one 8-ounce jar of plum butter per pound of fruit.
A note about cooking time: Luisa has you cook the jam at 350 degrees for two hours, but it took closer to three hours in my oven to reach proper consistency.
4 pounds Italian prune plums
2 cups sugar
1 cinnamon stick
2 whole cloves
Make the plum butter:
Wrap the cloves in a square of cheesecloth and tie with a piece of kitchen string to form a small pouch. It's easier to fish out a pouch than a couple of loose cloves when it's time to purée.
Pit and quarter the plums and place in a large non-reactive pot, the shallower the better. (I use enameled cast-iron.) Add the sugar, the cinnamon sticks, and the cloves in their cheesecloth pouch. Stir well, cover, and let sit overnight, or for eight hours, so that the plums soften and release their juices
Heat the oven to 350, uncover the pot, and cook for 2-3 hours, until the liquid has reduced and you have a thick jam. Remember that it won't fully thicken up until it cools. Here are a couple of ways to check for doneness:
1. Stick a spoon into the pot, lift out some of the jam, then tilt the spoon and observe how it drips. The excess will pour off in droplets at first; then, if the last bit slides its way down in more of a sheet - it's like seeing a thin, glowing rim of stained glass along the edge of the spoon - you're done.
2. Put a plate and a few metal spoons into the freezer while the fruit is cooking. When you think your jam is done, scoop a little onto one of the spoons and return the spoon to the plate in the freezer. (The plate's just to keep from making a mess in there.) Wait a minute or two, then retrieve the spoon and nudge the jam with your finger. If it has firmed up a little and wrinkles to the touch, you're all set. (Ha! All set!)
When the jam is ready, fish out the cinnamon sticks and the pouch of cloves and purée with an immersion blender. You now have plum butter and it's ready to jar.
Can it:
While the plums are cooking, heat your jars: (The pot of hot water you'll use here will become your processing pot, so when you're heating that water, you're getting two steps for the effort of one.) Remove the rings and lids from your jars and set them aside. Place a cooling rack, or silicone trivet, or whatever you're using to shield the jars from the heat - the first time around, I used a silicone muffin pan folded in half - in the bottom of a big pot, and put your jars on top. Fill the pot with water to cover the jars, and bring to a boil. Meanwhile, put the lids in a small saucepan, cover with water, and bring them to a simmer over very low heat to soften the sealing wax. No need to heat the rings.
Once you've puréed the jam, remove the jars from the pot and set them right side up on a clean towel on the counter. Keep the heat on under the pot - this is the hot water bath you'll be using in just a few minutes. Remove the lids from the saucepan and lay them out on the towel, too.
Fill your jars with the plum butter - a wide-mouth funnel is helpful here - leaving half an inch of headspace between the butter and the top of the jar. Wipe the rims of the jars with a damp towel, cover with the lids, and screw the rings into place - but not too tightly. (Use your finger tips, not the palm of your hand, to tighten.)
Lower the filled jars into the canning pot, return to a boil, and process for 10 minutes.* Remove the jars from the pot and listen for the ping of the lids sealing. If a jar fails to seal, you can store it in the fridge and eat within a couple of weeks.
Canned butters will keep for a year, but according to Marisa the texture will be best within 6-8 months.
Yield: Four 8-ounce jars.
*Update: A reader reminded me that if you're canning at high elevation - more than 1,000 feet above sea level - you'll need to adjust your canning time. Thank you, Laura B.! Marisa wrote a post all about it right here that includes a guide for high elevation processing times.